How to Patch a Small Drywall Hole Before Painting
Nail holes, doorknob dings, and small screw holes are an easy DIY fix, but rushing the patch is the most common reason a fresh paint job shows flaws under lamp light.
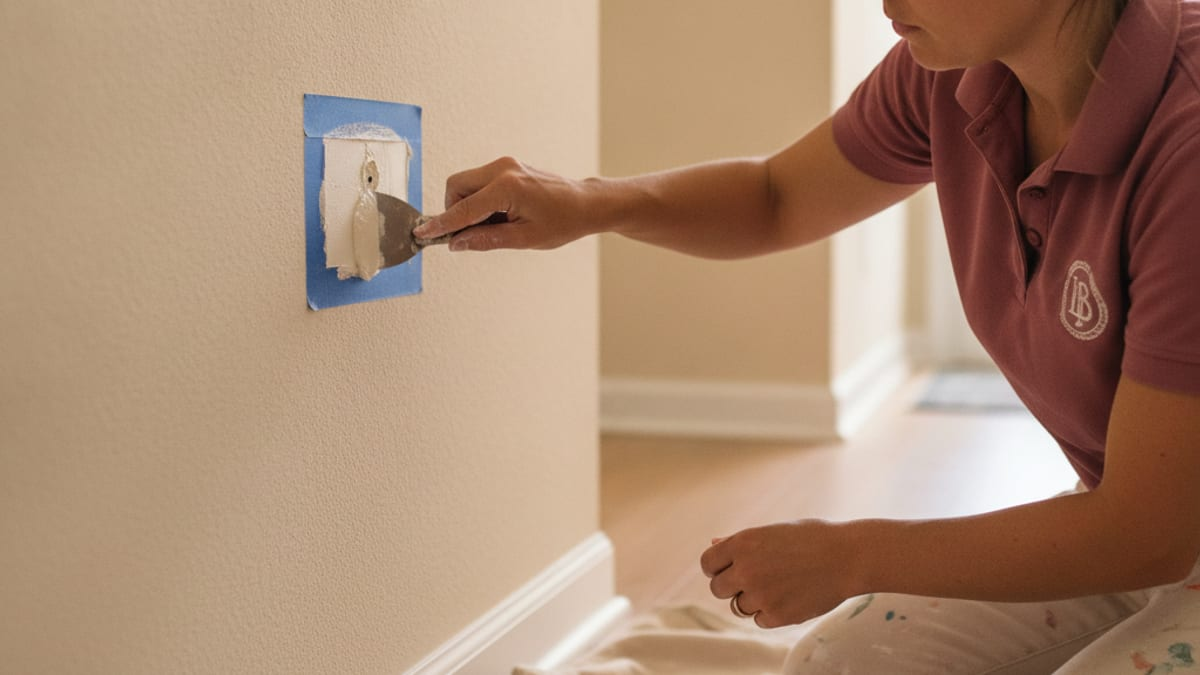
What You Need and When a Patch Kit Actually Works
For holes under about 6 inches, like nail holes, doorknob dings, or a stripped screw hole, a self-adhesive mesh patch or a simple fill with lightweight spackle or joint compound is all you need. Anything bigger, or a hole that crosses a stud bay, needs a scrap-drywall patch cut to fit, not just a fill, or it will crack loose again within a season. Keep it simple: a flexible putty knife, a 120 to 150 grit sanding sponge, lightweight spackle or joint compound, and a stain-blocking primer.
Filling, Sanding, and Getting a Flat Surface
Apply thin layers of compound instead of one thick pass. A thick fill shrinks and cracks as it dries, and that takes longer than usual in Tampa's humidity, so patience matters more here than in a drier climate. Let each layer dry fully before the next, and feather the edges out 2 to 3 inches beyond the hole so there's no visible ridge once light hits the wall at an angle. Sand lightly between coats and wipe away dust before the final coat.
Priming Before You Paint (Don't Skip This Step)
Patched drywall is more porous than the painted wall around it, and paint applied straight over raw compound will flash, showing a dull or shiny spot that stands out even after two coats. Spot-prime the patch with a stain-blocking primer, let it dry completely, then paint the entire wall rather than just the patch. Painting only the patched area almost always leaves a visible sheen difference at the edges, even with the same can of paint.
Rather have a pro handle it?
Free estimates across the Tampa Bay area. A real person picks up.
Keep reading.
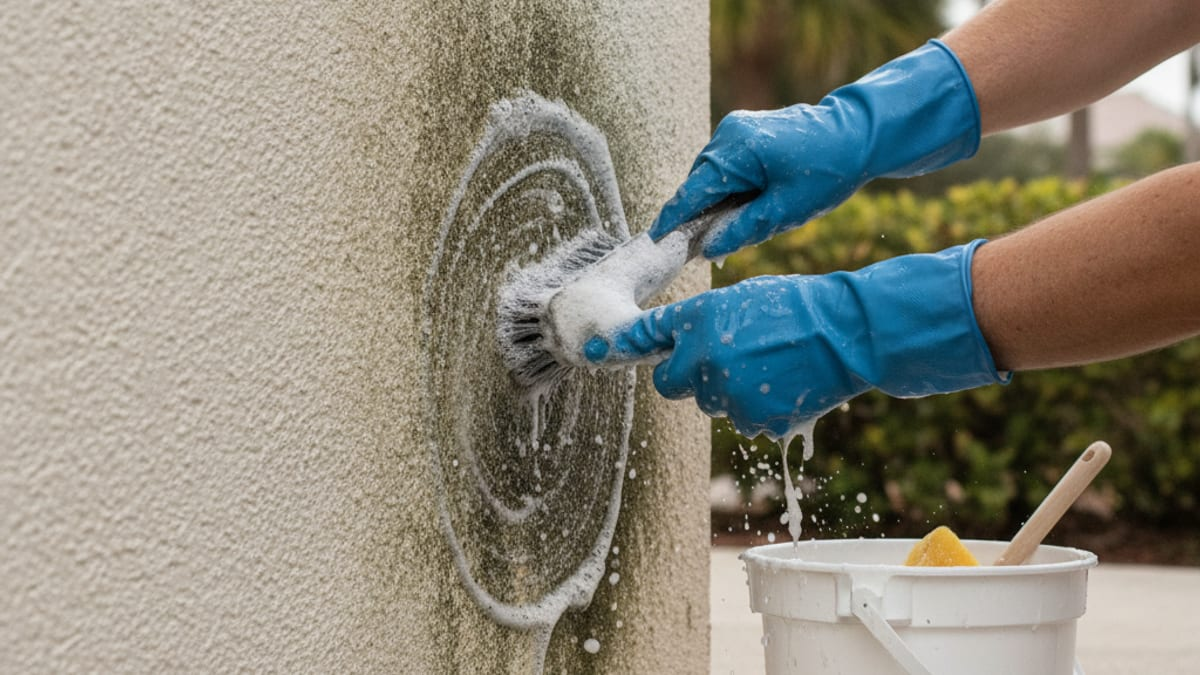
Cleaning Mildew Off Stucco and Siding Before Painting
Tampa Bay's year-round humidity means mildew comes back fast on stucco and siding, and painting over it without cleaning it first is the number one reason exterior paint peels within a year.
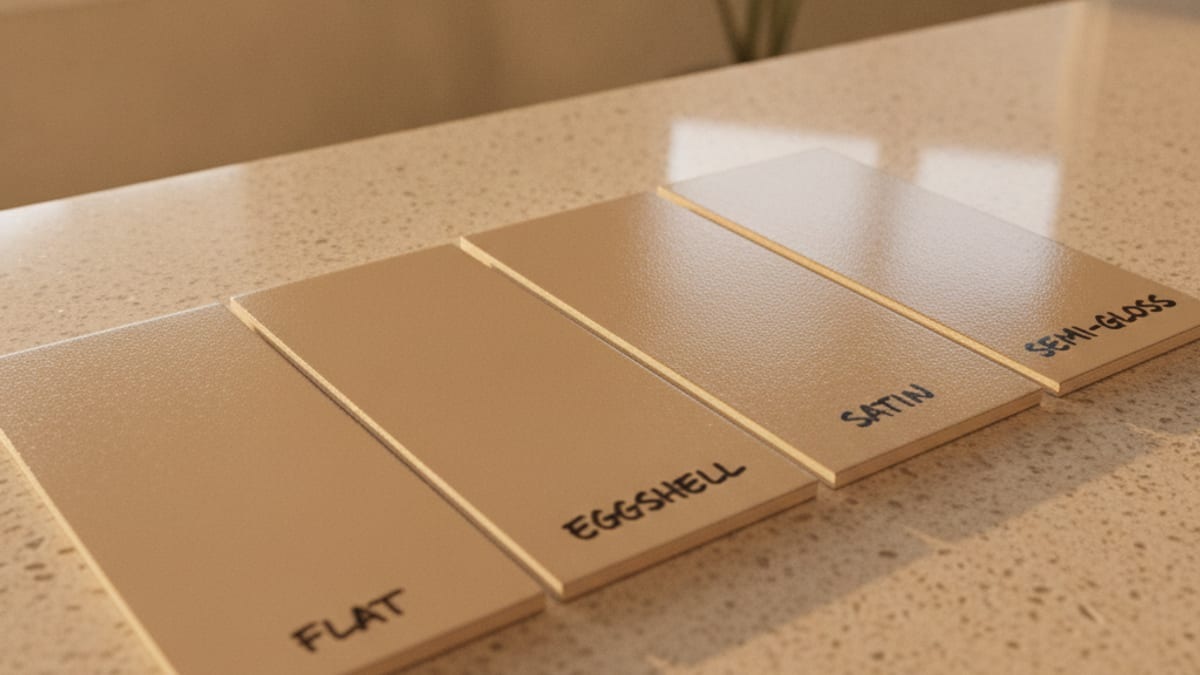
Choosing the Right Paint Sheen for Every Room
Sheen affects how durable and easy to clean a wall is, not just how shiny it looks, and picking the wrong one is a quiet mistake that shows up as scuffs or glare within a year.
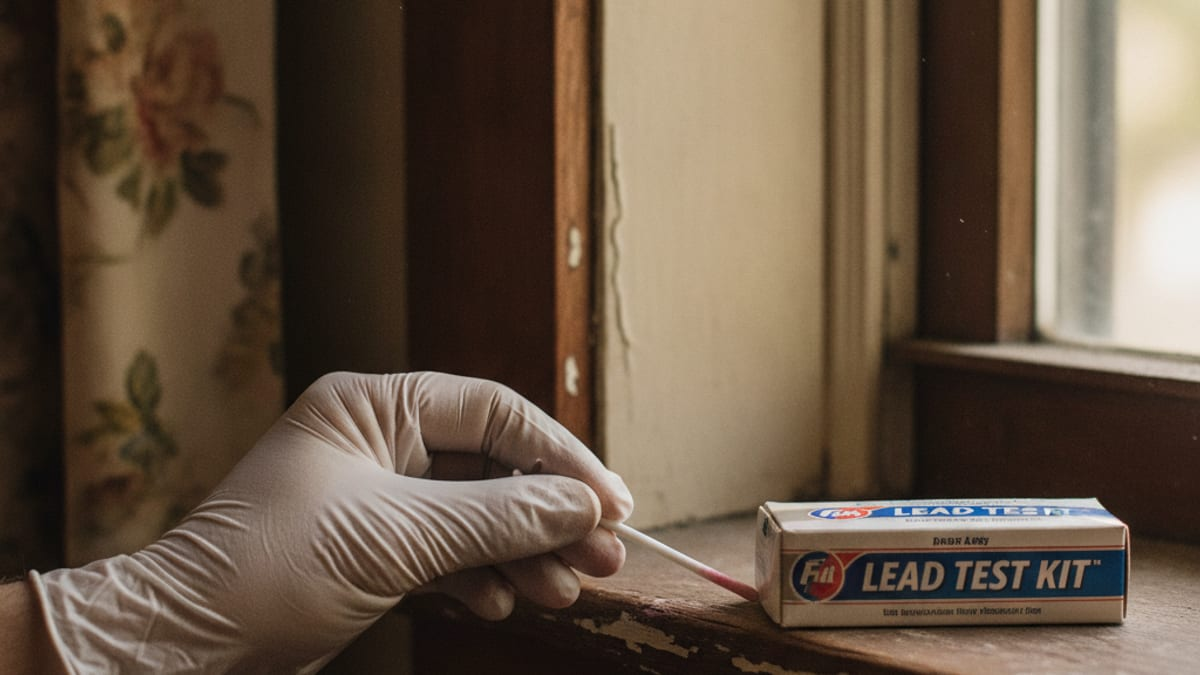
Testing for Lead Paint in an Older Tampa Home
Homes built before 1978 across Seminole Heights, Hyde Park, Ybor City, and older Pinellas beach towns can still carry lead paint under newer coats, and disturbing it the wrong way is the actual risk, not leaving it alone.